
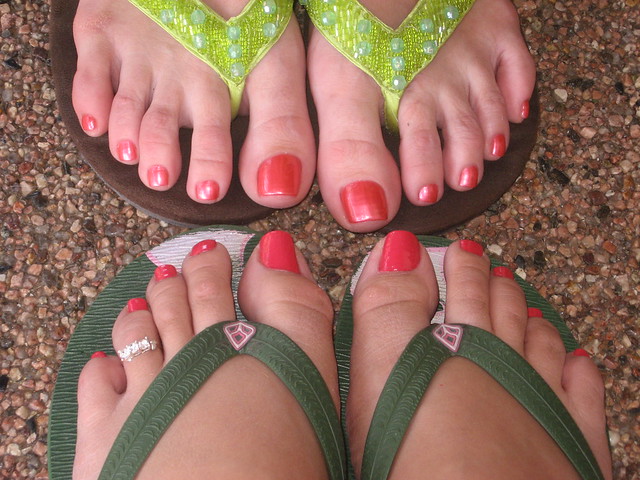
8 DIY Pedicure Tips That Will Keep Those Feet Looking Fabulous
 08. Jul, 2010
  2 Comments
Now that summer is here and sandal season is in full force, we at Your Beauty School have noticed a large portion of girls who are still a little bashful about the appearance of their feet.
However, not everyone has the time to take a summer weekend getaway to the spa and get their mani/pedi.
That’s why Your Beauty School has prepared some quick DIY tips for an at home pedicure that will have you playing footsie with confidence in no time.
1) Your first step is to remove any leftover nail polish. Do this with a tiny amount of acetone nail polish remover and dab carefully with a cotton ball. Cotton balls are absorbent and will do a good job getting any old color.
2) Next, enjoy a nice soak. Hydrate your feet in a warm bubble bath. Use a large bowl with Epsom salt. If you choose, add a small amount of scented oil or salts to really give yourself the at home spa experience. This will relax and soothe your feet, as well as your entire body.
3) After about 10 minutes, dry your feet off and begin exfoliating any dead skin with a granular foot scrub. You can also choose to make a homemade scrub using olive oil and salt. Afterwards, rinse off any extra skin in your bubble bath.
4) Next, you’ll want to softly rub the bottom of your feet and heels with a pumice pad. Be sure to rinse frequently and give your calluses a little extra attention.
5) From here, clip your nails with a straight clipper. Trimming your nails into a circular shape can encourage your nails to grow back in an unpleasing manner.
6) Moisturizing is an important following step. Using a rich cream will hydrate and soften your skin even further for beautifully smooth feet and toes.
7) Cuticles are up next. Softly push your cuticles back with a popsicle stick or designated tool. Cutting cuticles is a task typically best left for professionals. You don’t want to end up with cuts on those super smooth feet.
8) Lastly, reapply your desired polish to your new smooth nails. Extra usage of a top coat will be sure to make it last, preventing any chips from flaking off.
And there you have it! Beautiful, smooth, hydrated feet without any expensive spa trips.
If you want to learn how to do this as a professional cosmetologist then fret no more and check out Hair Design Institute.


No comments yet... Be the first to leave a reply!